持续集成之Gitlab-ce部署
GitLab是一个利用Ruby on Rails开发的用于仓库管理系统的开源应用程序,使用Git作为代码管理工具,并可通过web界面进行访问公开或私人项目,特点如下。
功能丰富: 包括Git仓库管理、代码审查、问题跟踪、动态订阅、wiki等功能.以及GitLab内部集成的 GitLab CI 更是一个持续集成和交付的好工具。
免费开源: MIT licensed。 聚集着700+贡献者的开源社区来修改、检查GitLab的源码,GitLab可以很方便的集成到你的基础架构中。
易于扩展: 单服务器最高支持25,000个用户,也可以使用主主的方式搭建 高可用集群
1. 基础环境准备
[root@linux-node2 ~]# cat /etc/redhat-release
CentOS Linux release 7.2.1511 (Core)
[root@linux-node2 ~]# uname -r
3.10.0-327.18.2.el7.x86_64
[root@linux-node2 ~]# ifconfig eth0|awk -F "[ :]+" 'NR==2{print $3}'
192.168.56.12
[root@linux-node2 ~]# hostname
linux-node2.example.com
2. 安装gitlab-ce
[root@linux-node2 html]# yum install curl policycoreutils openssh-server openssh-clients postfix		#安装基础环境
[root@linux-node2 html]# systemctl start postfix
#配置yum源,国内用户建议使用清华大学的镜像源进行安装,官方源会很慢
[root@linux-node2 ~]# cat /etc/yum.repos.d/gitlab-ce.repo
[gitlab-ce]
name=gitlab-ce
baseurl=http://mirrors.tuna.tsinghua.edu.cn/gitlab-ce/yum/el7
repo_gpgcheck=0
gpgcheck=0
enabled=1
gpgkey=https://packages.gitlab.com/gpg.key
[root@linux-node2 ~]# yum install -y gitlab-ce  #安装gitlab-ce
3. 配置启动gitlab-ce
[root@linux-node2 ~]# vim /etc/gitlab/gitlab.rb
external_url 'http://192.168.56.12'		#修改访问URL
[root@linux-node2 ~]# gitlab-ctl reconfigure	#配置并启动gitlab
[root@linux-node2 ~]# gitlab-ctl status		#使用gitlab-ctl管理gitlab,查看gitlab状态
run: gitlab-workhorse: (pid 3676) 90s; run: log: (pid 3581) 119s
run: logrotate: (pid 3596) 115s; run: log: (pid 3595) 115s
run: nginx: (pid 3895) 2s; run: log: (pid 3586) 117s
run: postgresql: (pid 3436) 159s; run: log: (pid 3435) 159s
run: redis: (pid 3353) 165s; run: log: (pid 3352) 165s
run: sidekiq: (pid 3564) 126s; run: log: (pid 3563) 126s
run: unicorn: (pid 3873) 9s; run: log: (pid 3538) 127s
[root@linux-node2 ~]# gitlab-ctl stop		#关闭gitlab
ok: down: gitlab-workhorse: 0s, normally up
ok: down: logrotate: 1s, normally up
ok: down: nginx: 0s, normally up
ok: down: postgresql: 1s, normally up
ok: down: redis: 0s, normally up
ok: down: sidekiq: 1s, normally up
ok: down: unicorn: 0s, normally up
[root@linux-node2 ~]# gitlab-ctl start		#启动gitlab
[root@linux-node2 ~]# gitlab-ctl restart	#重启gitlab
4. 登陆gitlab-ce
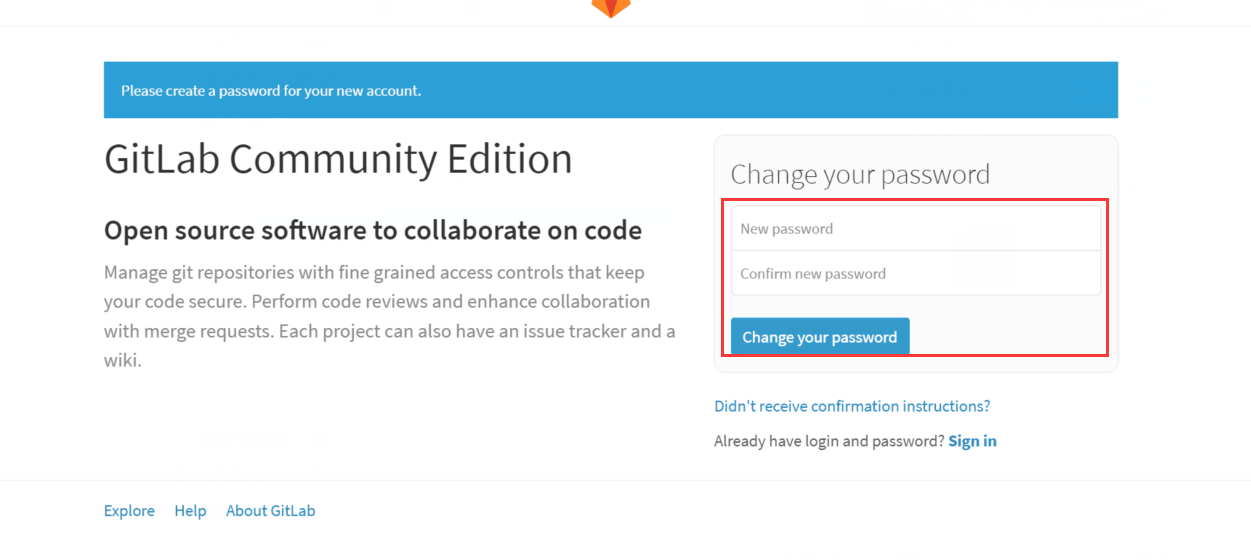
首次登陆gitlab,需修改超级管理员用户root密码
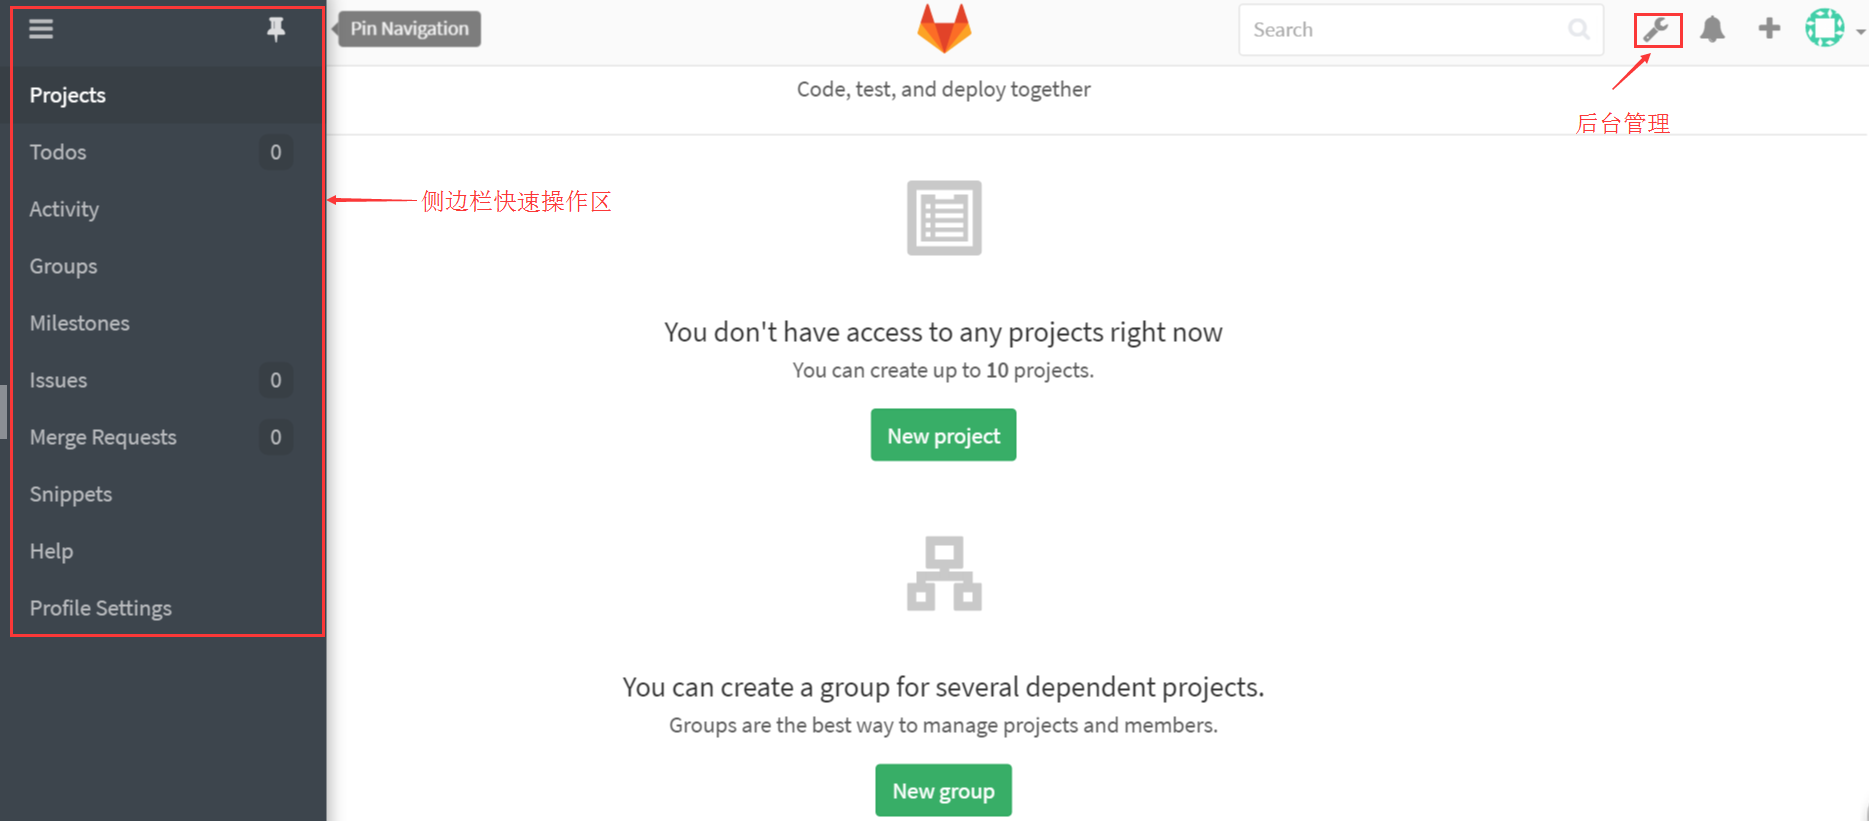
登陆后,就可以愉快地使用gitlab了,嚯嚯~!

